Modern computing thrives on being connected. A well-set-up system changes how we work and team up. It makes network resource sharing easy across different devices.
This detailed computer network guide shows how to boost efficiency with good connections. You’ll find out how to easily access shared files, printers, and media libraries.
It’s not just about moving files. Teams can work better together, and people can get their work done faster. You can also access resources from anywhere, making work more flexible.
Our expert guide will help you unlock these great benefits. You’ll learn to create strong connections that help both personal and work goals.
Understanding How to Use a Network in Computer
Before we start setting up networks, it’s key to understand the basics. This knowledge helps us share resources and access devices across our network.
Defining Computer Networks and Their Core Benefits
A computer network is a system where many devices connect to share and exchange information. This setup makes it easy for computers, servers, and devices to talk to each other.
The main benefits of having a network include:
- Resource sharing – Many users can use printers, scanners, and storage devices
- Enhanced collaboration – Team members can work together on shared files and projects
- Cost efficiency – Using shared equipment saves money
- Remote access – You can access network resources from anywhere
“Networking technology has changed how organisations work. It makes information flow freely and resources are used better for more productivity.”
Types of Networks: LAN, WAN, and Wireless Configurations
There are different types of networks, each for specific needs and sizes. Knowing these helps choose the right network for you.
| Network Type | Coverage Area | Typical Use Cases | Connection Method |
|---|---|---|---|
| LAN Network | Localised (office, home) | File sharing, printer access | Ethernet cables, Wi-Fi |
| WAN Network | Wide geographical area | Connecting branch offices | Leased lines, VPN |
| Wireless Network | Variable range | Mobile device connectivity | Wi-Fi, Bluetooth |
A LAN network is for a single building or campus. It offers fast connections between devices. Businesses use LANs for sharing resources and talking to each other.
A WAN network covers a wider area, linking many LANs across cities or countries. It helps organisations stay connected between different places.
A wireless network lets devices connect without cables. It uses radio waves. This setup supports mobility and access to shared resources within the network area.
Preparing Your Devices for Network Setup
Before you start setting up your network, make sure everything is ready. This means checking both the physical parts and the software you need. Doing this right from the start helps avoid problems and makes sure your network works well.

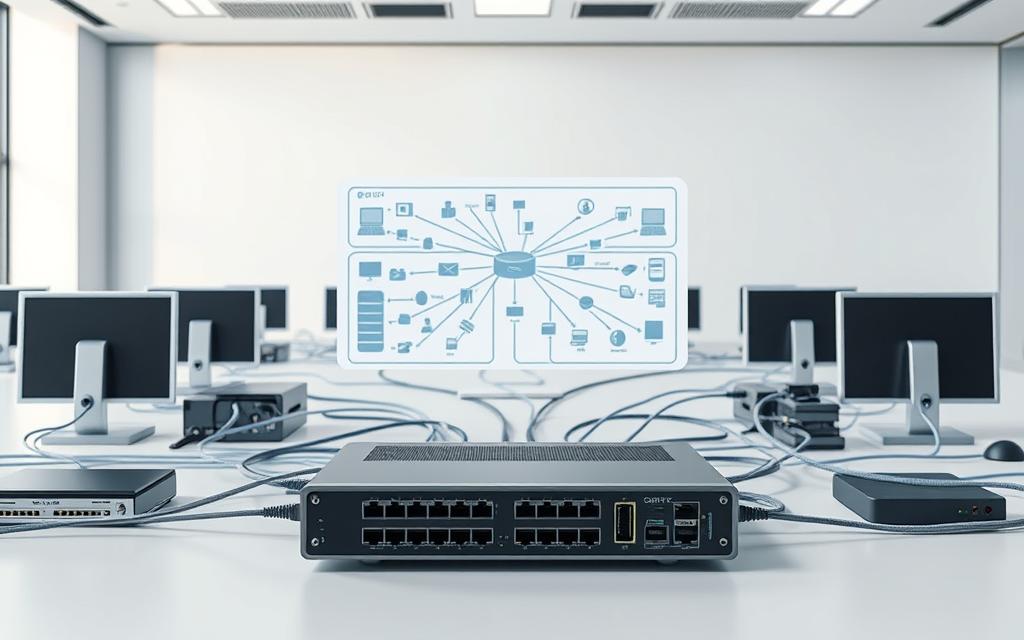
Checking Hardware Requirements: Routers, Switches, and Adapters
A good network starts with the right hardware. Each piece has its own job in making connections work well.
The router is the heart of your network. It controls how you get online and sends data between your network and the internet. It also has a firewall to keep your network safe.
Network switches are key for talking to devices inside your network. They’re smarter than old hubs because they only send data where it’s meant to go. This makes your network faster and more efficient.
Every device needs a network adapter to connect. Most computers have Ethernet ports for wired connections. For wireless, you need a Wi-Fi adapter, which can be inside your computer or a USB stick.
Installing Necessary Software and Updated Drivers
Just having the right hardware isn’t enough. You also need the right software to make it work.
Start by updating your operating system. Windows, macOS, and Linux all release updates that make your network better. These updates often fix security problems too.
Installing the right drivers is very important. Drivers help your network cards and adapters talk to each other. Old drivers can cause problems like dropped connections and slow speeds.
Here’s how to install network drivers:
- Find out what kind of network adapter you have in Device Manager
- Go to the manufacturer’s website to get the latest drivers
- Download the right driver for your operating system
- Follow the installer and restart your computer
Many systems can find and install drivers on their own. But checking yourself makes sure you have the latest ones. This small step can make a big difference in how well your network works.
Setting Up a Basic Local Area Network (LAN)
Creating a Local Area Network starts with connecting devices and setting up addresses. This makes computers work together, sharing resources well. The right setup LAN steps ensure devices talk to each other smoothly.
Connecting Devices Using Ethernet Cables and Switches
Your network’s base is built with good Ethernet connection parts. Use Category 5e or Category 6 cables for best results in homes and offices. These cables carry data between your devices.
Network switches are key for wired devices. Unlike hubs, they send data only to the right device. This boosts network speed and cuts down on data waste.
Make sure each Ethernet cable is plugged in right. Most switches have lights that show if connections are good. These lights help check if everything is connected before you start with software.
Configuring IP Addresses and Subnet Masks for Communication
After connecting devices, you need to set up IP addresses. Each device needs a unique IP address, like a house number for data. The subnet mask helps devices talk to each other without needing a router.
IP addresses are four numbers separated by dots (like 192.168.1.1). Devices in the same network range can talk directly. The subnet mask sets this range and network limits.
Implementing Dynamic Host Configuration Protocol (DHCP)
Most networks use DHCP server for easy address setup. DHCP gives devices IP addresses automatically when they join the network. This makes setting up networks easier and less prone to mistakes.
Your router is usually the DHCP server at home. When a device connects, it asks for an address. The server then gives it an address and other network details.
DHCP makes sure addresses are reused when devices leave the network. This stops address problems in networks with lots of devices. The lease time decides how long a device keeps its address before it needs to renew.
Manual IP Address Assignment for Static Networks
Some devices need a fixed static IP address. Servers, printers, and storage devices often need this. It helps other devices find them easily.
Choose static addresses outside the DHCP range to avoid conflicts. DHCP usually gives addresses from the higher end of the range.
Keep a list of static addresses for easy network management. This helps avoid mix-ups and makes troubleshooting easier. Keeping records helps keep your network running smoothly.
Static addresses are key for reliable network services. Devices that offer services to others should have fixed addresses. This ensures users can always access shared resources.
Enabling Resource Sharing on Your Network
Once your network is set up, you can share resources between devices. This makes computers work together, sharing files and printers with others.
Sharing Files and Folders with Network Users
To share files on Windows, go to Network and Sharing Centre in your Control Panel. Turn on file and printer sharing. This lets your computer join in sharing resources.
To share folders, right-click on the folder and choose “Properties.” Then, go to the “Sharing” tab to set access. You’ll get a network path for others to use.
Setting Access Permissions and Security Levels
Setting the right permissions is key for network security. Windows has different permission levels:
- Read access: Users can see files but can’t change or delete them
- Read/Write access: Users can edit files in the shared folder
- Custom permissions: Detailed control over actions for different groups
Give the least permissions needed to keep data safe. Check and update these settings often as your team or projects change.

Sharing Printers and Other Peripheral Devices
Sharing peripherals like printers means no need for a device at each desk. Shared printers let many users print to one device.
Configuring Printer Sharing via Network Settings
Start by going to “Devices and Printers” from the Windows start menu. Right-click the printer to share and choose “Printer properties.” In the “Sharing” tab, tick “Share this printer” and give it a name for others to see.
Sharing other devices like scanners or drives works the same way. Most devices have network-sharing options in their software or through Windows.
Make sure to set up good security for each shared device. Keep drivers and firmware up to date to stay safe and compatible.
Accessing and Utilising Shared Resources
Once you’ve shared your network resources, it’s time to learn how to use them from other devices. This makes your computers work together, sharing files and printers with those who have permission.
Locating and Mapping Network Drives for Easy Access
Using File Explorer, finding shared folders is easy. Just go to the “Network” section in the left pane. Here, you’ll see all computers on your network. Double-click any computer name to see its shared resources.
To access directly, type the computer’s network path in the address bar. Just enter \\computername (replace “computername” with the actual name of the PC) and press Enter. This works when computers don’t show up automatically in the Network view.
For quick access, map a network drive. This turns a shared folder into a local drive. It saves time when you need to access it again.
To map a network drive:
- Right-click “This PC” in File Explorer and select “Map network drive”
- Choose an available drive letter from the dropdown menu
- Enter the folder path (e.g., \\computername\sharedfolder)
- Check “Reconnect at sign-in” for automatic connections
- Click “Finish” to complete the process
Using Shared Printers, Scanners, and Media Devices
Adding a shared network printer lets you print from any device. Windows usually finds available printers automatically through the “Add printer” function in Settings.
For manual setup, open Settings > Devices > Printers & scanners. Click “Add a printer or scanner” and wait for detection. Or, select “The printer that I want isn’t listed” to enter the printer’s network path directly.
Media devices like NAS drives often show up automatically in File Explorer. They usually come with software for easy access and management across devices.
Troubleshooting Common Access Issues
The most common problem is the network credentials error. This happens when your login details don’t match the host computer’s.
To fix this, make sure you’re using the correct username and password. Enter these exactly as they are on the host system, paying attention to case sensitivity for passwords.
Other solutions include checking network discovery and file sharing settings. Make sure the target computer is on and connected. Also, verify that the shared resource hasn’t been removed or had its permissions changed.
Conclusion
Setting up a computer network changes how you work. It makes teamwork easier and saves a lot of time. By following this guide, you can share resources well across all devices. This boosts productivity in any setting.
To keep your system safe, use firewalls and encryption. Also, look into advanced network management tools. These help you keep an eye on how well your network is working. This way, your network stays strong for everyone.
Keep learning about these tips to get the most out of your network. This will make your workspace more connected and efficient.
 By
By